How to Configure G Router for Home Wi-Fi: A Step-by-Step Guide
Configuring your G router for home Wi-Fi is a crucial step in ensuring a seamless and secure internet connection. In this article, we will guide you through the process of configuring your G router for home Wi-Fi, providing you with the necessary information to set up a reliable and fast internet connection.
Step 1: Connect Your First Google Wifi Router
Start by turning on your first point, which is the primary Google Wifi router that sits between your modem and the rest of your devices. Make sure you have a stable power supply and a working internet connection.
Step 2: Set Up Your Google Wifi Mesh Wi-Fi System
Set up your Google Wifi mesh Wi-Fi system to expand Wi-Fi coverage throughout your home. To set up Google Nest Wi-Fi devices with an existing Google Wifi network, follow the instructions on how to use Google Wifi with Nest Wifi.
Step 3: Log In to Your Router
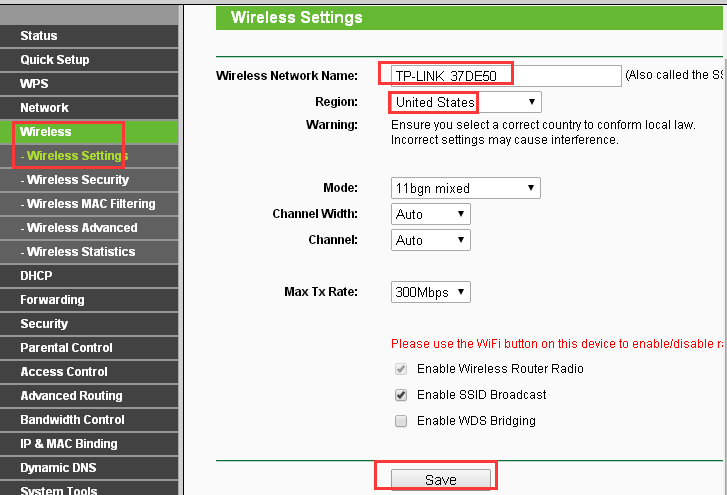
To log in to your router, you will need to open a web browser and type in the IP address of your router. The default IP address for most routers is 192.168.0.1 or 192.168.1.1. Enter your username and password to access the router's settings page.


![[Wireless Router] How do I enter my ASUS router's setting page using ...](https://i.ytimg.com/vi/p8YkQyZGa8k/maxresdefault.jpg "[Wireless Router] How do I enter my ASUS router's setting page using ...")


