Essential Information for Ceiling Fan Installation After Hurricane
After a hurricane, your home may require a range of repairs to ensure your safety and comfort. If your ceiling fan was damaged or destroyed during the storm, you may need to install a new one quickly to restore airflow and prevent indoor air stagnation. Proper installation is crucial to prevent accidents, injuries, and long-term damage to your home.
Preparation is Key: Safety First
- Ensure you have the necessary tools, including a ladder, wrench, and wiring kit for the proposed installation.
- Turn off the electrical power to the room before commencing any work to prevent electrical shock or damage.
- Inspect your ceiling for any signs of damage, looking for sagging or loose parts, water stains, or electrical issues.
Choosing the Right Ceiling Fan for Your Post-Hurricane Needs
When selecting a new ceiling fan for your home, take into account the side effects of the hurricane on your environment and the overall safety needs of your home. A properly installed ceiling fan is a vital component of your home's overall security system, designed for optimal performance.
Step-by-Step Guide to Ceiling Fan Installation After Hurricane
- Measure your ceiling correctly and identify any obstacles, such as metal studs or ceiling beams.
- Choose a suitable location for the fan to ensure optimal airflow.
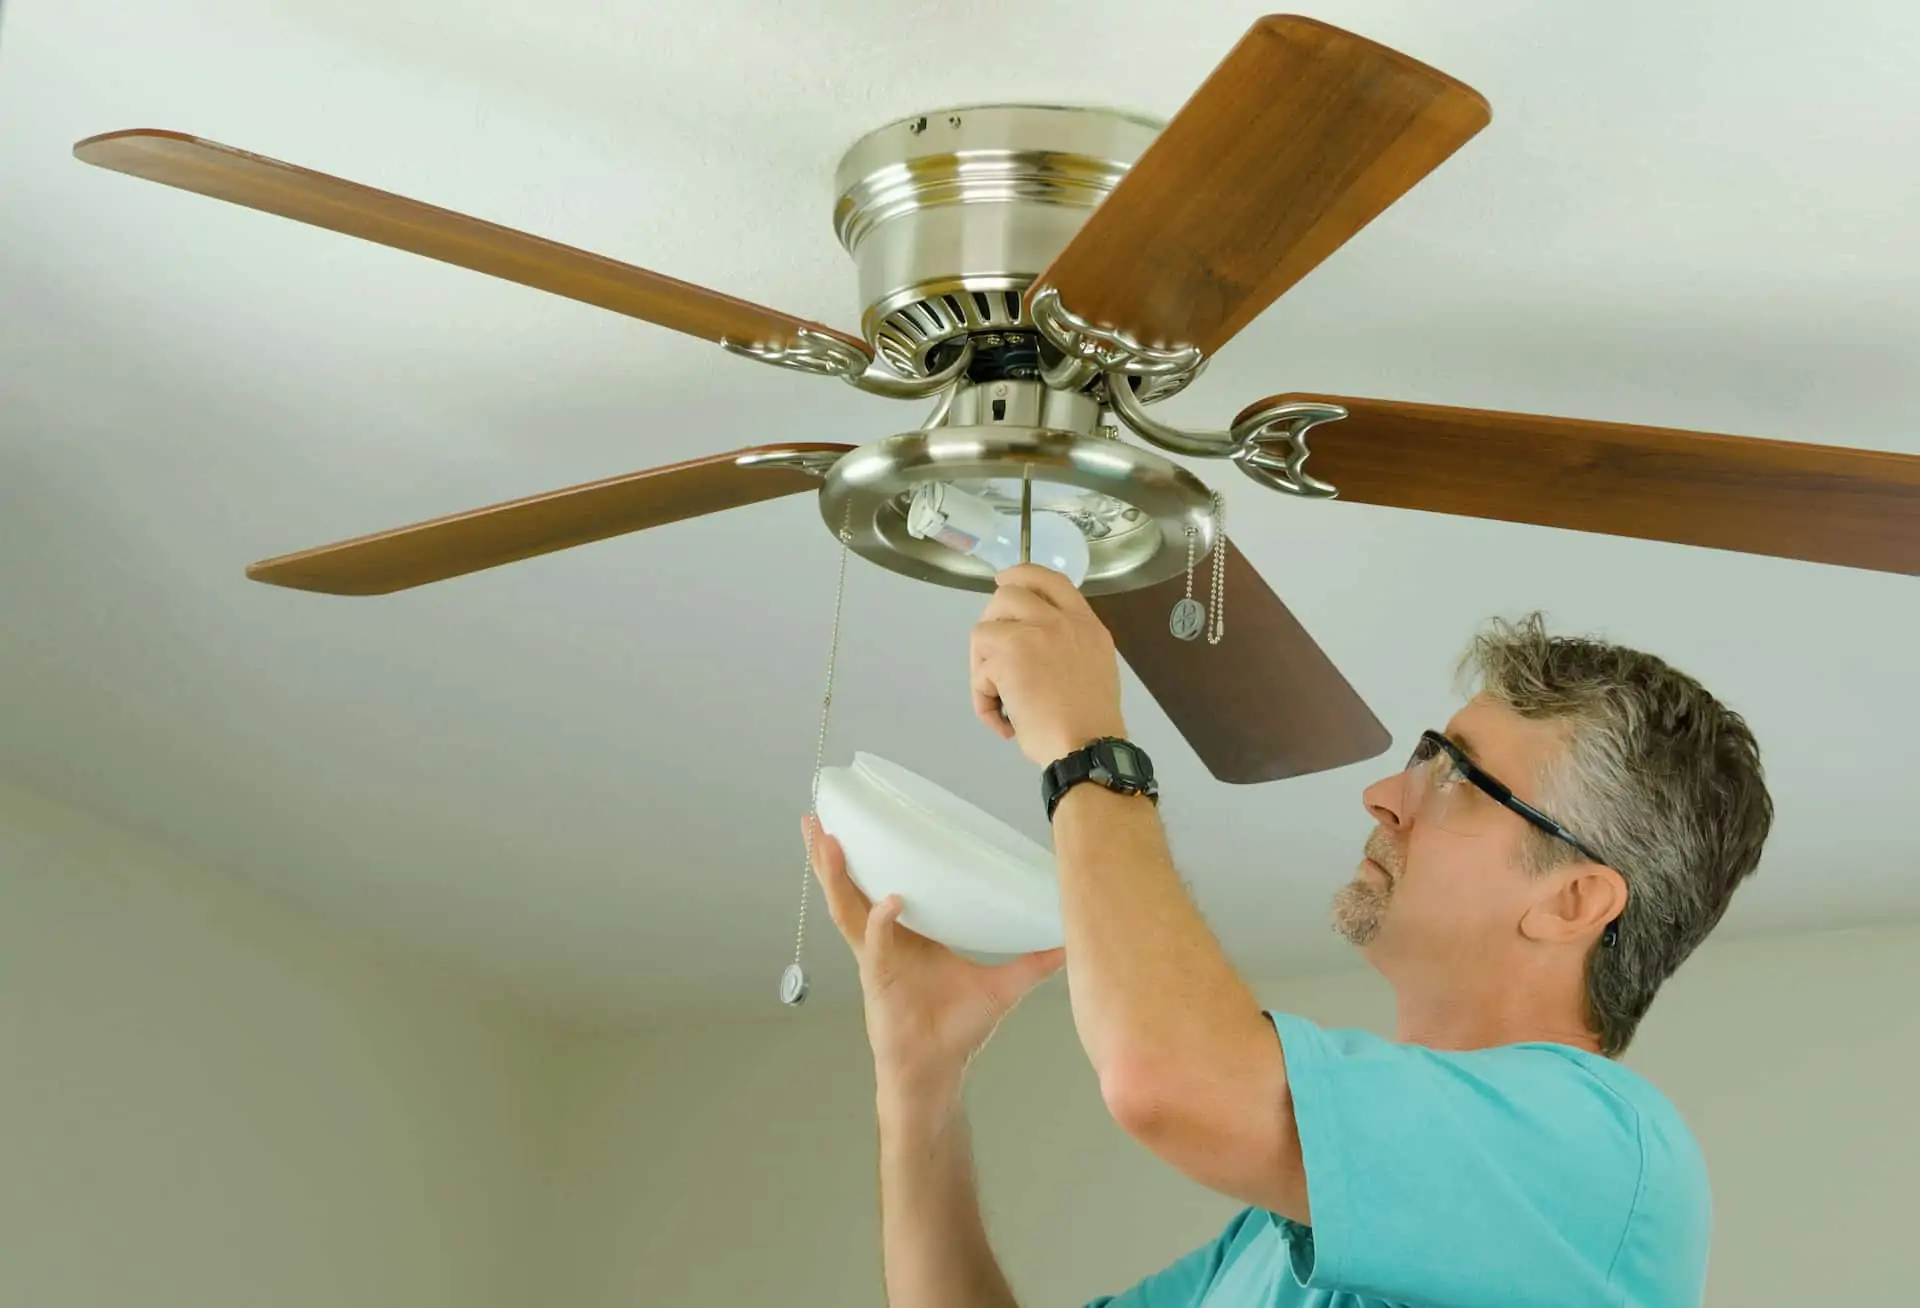
- Connect the fan body to the down rod while on the ladder.
- Connect the wiring to the fan, following all safety guidelines and manufacturer's instructions.
- Finish by connecting any additional power sources or installing light fixtures, following their individual specifications.


")


