Step-by-Step Guide to Router Setup for Android Devices
Setting up a new g router setup for Android devices can be a daunting task, but with a clear guide, you can get the most out of your Wi-Fi connection and enjoy seamless connectivity throughout your home or office. In this article, we will walk you through a step-by-step guide on how to set up your g router for Android devices and provide some additional tips to improve your network performance.
Step 1: Determine Your Router Type
Before we dive into the setup process, it's essential to determine the type of router you have. Most modern routers are Wi-Fi enabled, but some older models may require a separate setup process. Check your router's manual or documentation to see if it's Wi-Fi enabled. If it is, you can proceed with the setup process.
Step 2: Unbox and Connect Your Router
Once you've determined your router type, it's time to unbox and connect it to your power source. Plug in the power adapter, and make sure your router is properly connected to your modem or internet service provider (ISP).
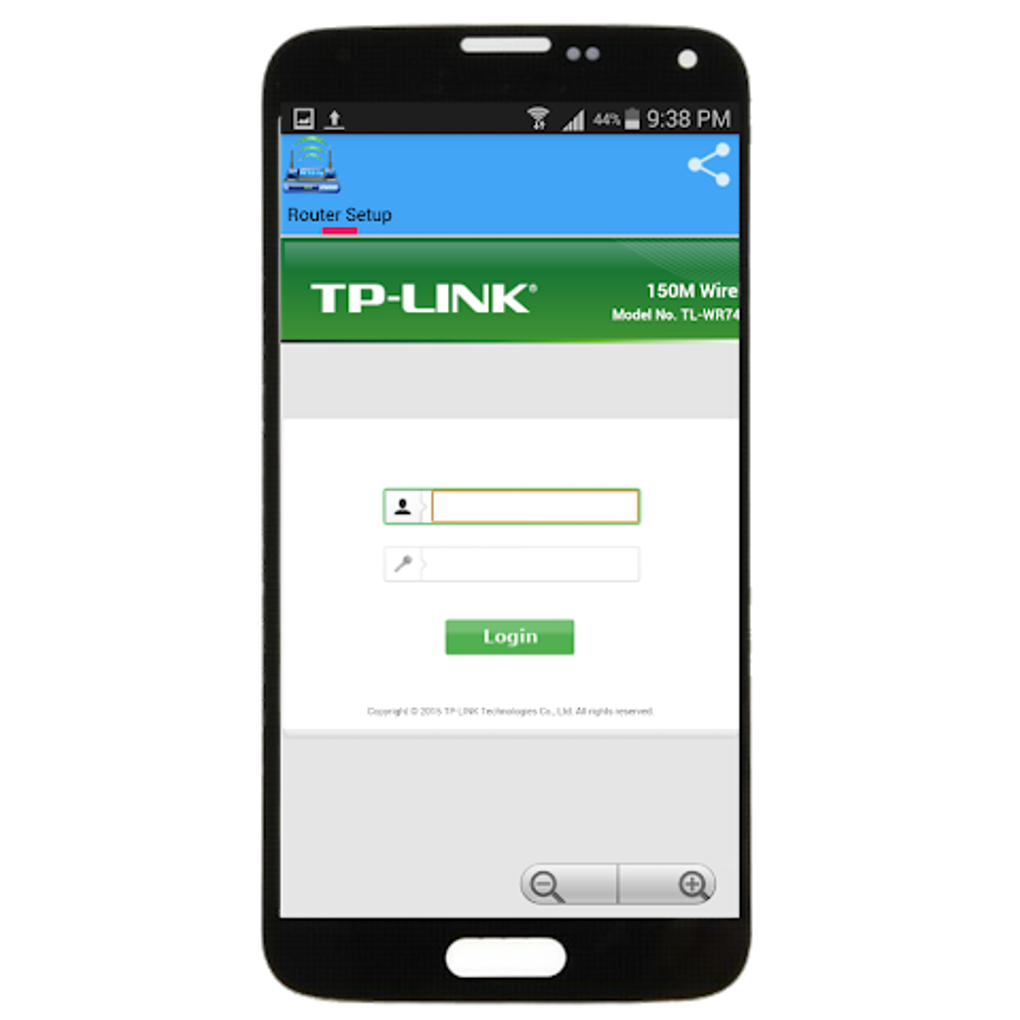
Step 3: Configure Your Wi-Fi Settings
Next, open your Android device's settings app and navigate to the Wi-Fi settings. Look for the name of your router, which should be printed on the back or bottom of the device. Select the network name, and enter the default password, which is usually printed on the same sticker. If you've changed the password in the past, make sure to update the password accordingly.


")


