Mastering Your NETGEAR G Router Settings for a Seamless Internet Experience
Setting up a new wireless router can be a daunting task, especially with the numerous settings to configure. However, with the right guidance, setting up a NETGEAR G router is easy and straightforward. In this article, we will walk you through the process of accessing and configuring your NETGEAR G router settings, ensuring a seamless internet experience for all your devices.
Accessing Your NETGEAR G Router Settings
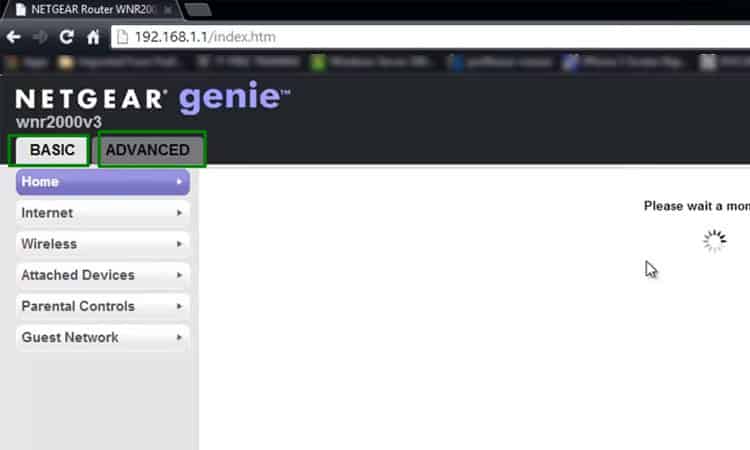
To access your NETGEAR G router settings, you'll need to connect your computer or mobile device to the router's network. Once connected, open a web browser and type http://routerlogin.net or http://192.168.1.1 in the address bar. This will take you to the router's login page, where you can enter your admin credentials to access the settings.
Understanding Your NETGEAR G Router Settings
Once you've accessed your router settings, you'll see a variety of options to configure. Here are some key settings to consider:
- Wireless Settings: This section allows you to configure your wireless network settings, including the network name (SSID), password, and channel.
- Security Settings: This section allows you to configure your security settings, including the type of encryption used, password, and other security features.
- Network Settings: This section allows you to configure your network settings, including the IP address, subnet mask, and gateway.
- DNS Settings: This section allows you to configure your DNS settings, including the DNS servers and search domains.


