G Router Plymouth Installation Setup: A Step-by-Step Guide
If you're planning to upgrade your internet connection with the GFiber Wi-Fi 7 Router, you're probably eager to get started with the installation process. In this article, we'll walk you through the G Router Plymouth installation setup, ensuring a smooth and hassle-free experience.
Pre-Installation Checklist
- Make sure you have the GFiber Wi-Fi 7 Router Self-Install Kit, which includes the router, power adapter, and other necessary cables.
- Check your internet connection and ensure it's stable and working properly.
- Choose a convenient location for your router, ideally an open floor space or table, to facilitate easy access and deployment.
Step 1: Unpacking and Inspection
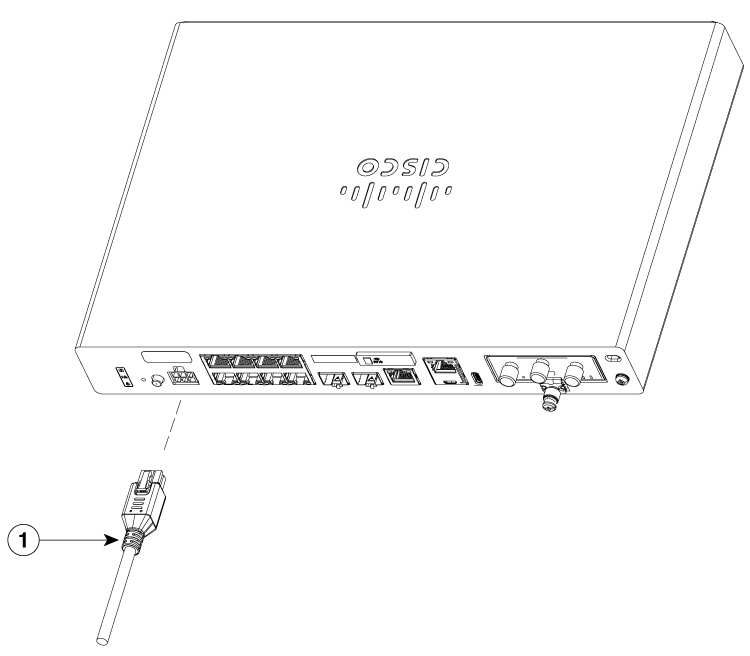
Begin by carefully unpacking the router and its accessories. Inspect the device for any damage or defects. Make sure all the necessary cables, such as the power cord, Ethernet cable, and Wi-Fi antenna, are included.
Step 2: Connecting the Modem
Connect the modem to the black port on the router using the provided Ethernet cable. This will establish a wired connection between the modem and the router.
Step 3: Powering On the Router
Plug the power adapter into a nearby power outlet and turn on the router. Wait for the lights to come on, indicating that the router is booting up.
 Self-Install Kit")


 Self-Install Kit")


 - YouTube")


 Self-Install Kit")


