Garage Door Opener Installation: A Step-by-Step Guide
Installing a garage door opener can seem like a daunting task, but with the right guidance, it can be a DIY-friendly project. In this article, we will walk you through the process of installing a garage door opener, including the necessary tools, time, Wi-Fi, and assembly steps required for different opener models.
Assessing Your Garage Door
Before starting the installation process, it's essential to assess your garage door and select the right type of opener for your needs. Consider the size and weight of your garage door, as well as any additional features you may require, such as Wi-Fi connectivity or battery backup.
Tools and Materials Needed
- Garage door opener unit
- Mounting hardware
- Power cord
- Remote control
- Programming guide
- Socket set
- Torx driver
- Level
- Tape measure
Step 1: Prepare the Area
Before starting the installation process, ensure the area around the garage door is clear and level. Remove any obstructions, such as furniture or tools, and check the garage door's balance and alignment.
Step 2: Assemble the Opener Unit
Follow the manufacturer's instructions to assemble the opener unit. This typically involves attaching the motor unit to the mounting hardware and connecting the power cord.
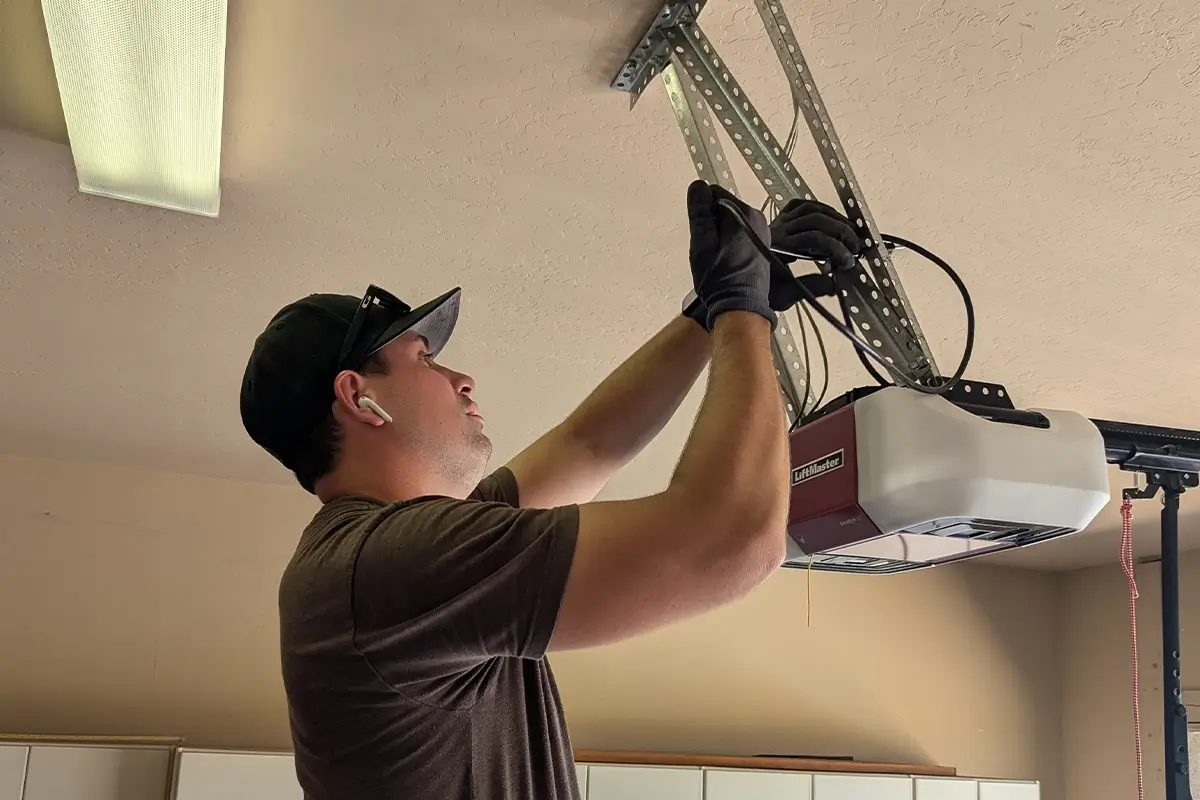
Step 3: Install the Opener Unit
Mount the opener unit to the garage door's ceiling, ensuring it is level and securely attached. Use the provided mounting hardware and follow the manufacturer's instructions for proper installation.


")


