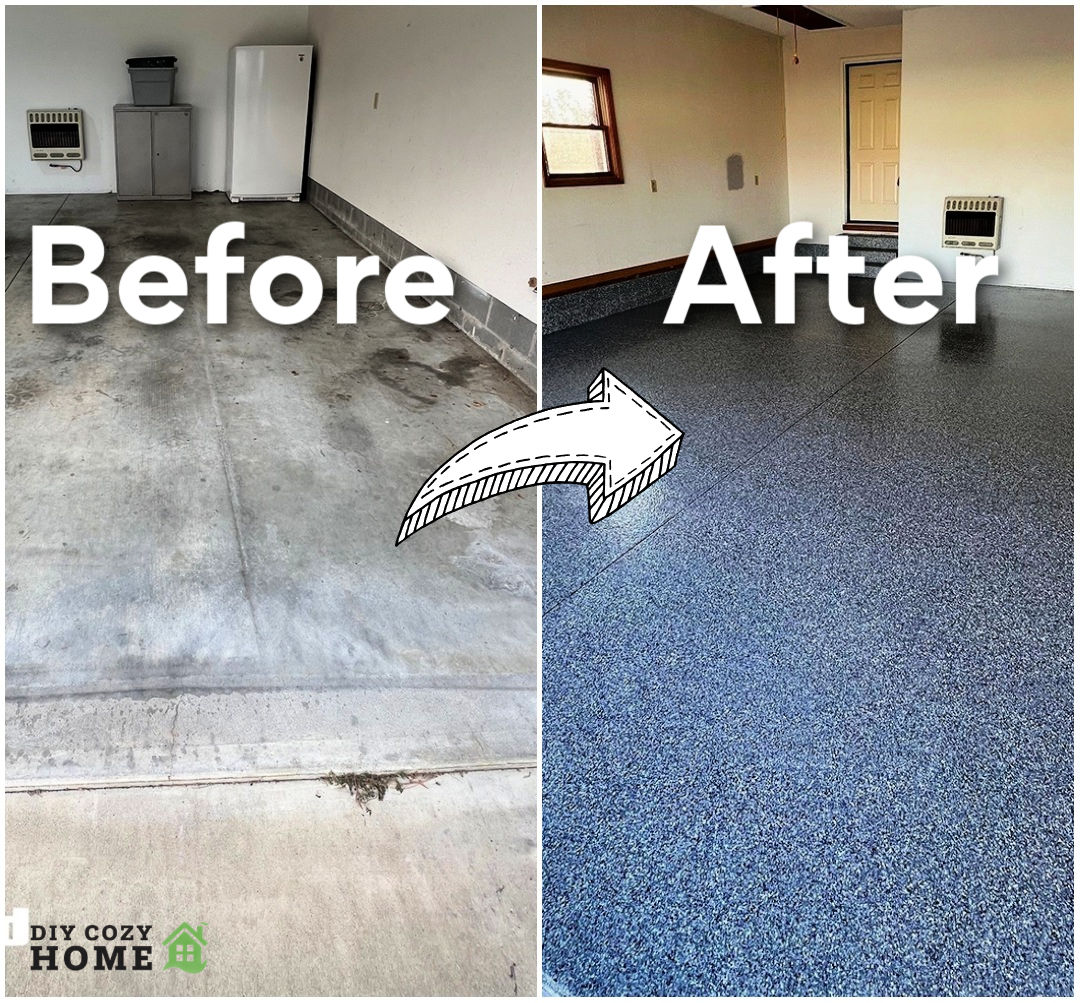
Ultimate Guide to Garage Floor Epoxy Installation Process
Are you considering a garage floor epoxy installation process for your home or business? Epoxy flooring is a popular choice due to its durability, stain-resistance, and sleek appearance. However, understanding the process can be overwhelming, especially for first-time homeowners. In this article, we will walk you through the garage floor epoxy installation process, providing you with the knowledge and confidence to tackle the project or know what to expect from a professional.
Why Choose Epoxy Flooring?
- Stain-resistant and easy to clean
- High-gloss finish with various design options
- Durable and long-lasting with proper installation and maintenance
- Improved appearance and increased home value
Preparation is Key
The garage floor epoxy installation process begins with proper preparation. This includes:
-
Grinding the floor to remove imperfections, old finishes, and sealants.
This process reduces moisture and speeds up the installation process by allowing the epoxy to seep into the concrete slab. It also ensures the formation of necessary structural and chemical bonds.
-
Cleaning the floor to ensure a strong bond between the epoxy and concrete.
A clean surface is essential for a long-lasting finish.
-
Priming and repairing any damaged areas.
This step is critical to prevent any imperfections or weak spots.
-
Applying a base coat to protect the concrete and create a uniform surface.
This coat also helps the epoxy adhere better to the concrete.


 - steelcoatedfloors.com")
:strip_icc()/brushing-epoxy-onto-garage-floor-2KJAAgbNKvyBRtXdtJd2aV-ec7d2c0d4f46408eac4dbc7465528781.jpg "Epoxy Garage Floor in Noblesville, IN (46060)")
 - steelcoatedfloors.com")


 - steelcoatedfloors.com")

