TP-Link G Router Configuration: A Step-by-Step Guide
Are you looking to configure your TP-Link G router for optimal performance and security? Look no further! This article provides a comprehensive step-by-step guide on how to configure your TP-Link G router, including the essentials of connecting, logging in, and configuring internet and Wi-Fi settings.
Connecting to Your TP-Link G Router
The first step in configuring your TP-Link G router is to connect to it using a web browser. You can do this by accessing the address tplinkwifi.net using a computer or mobile device connected to the TP-Link G network. If you are not connected to the network, first ensure that your device is connected to the router's network. If you encounter issues, refer to the troubleshooting solutions below.
- Check that your device is connected to the TP-Link G network.
- Ensure that the router is powered on and functioning correctly.
- Restart the router and try connecting again.
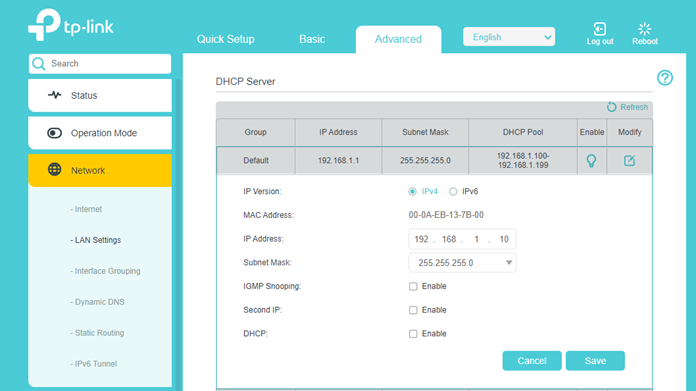
Accessing the Router's Setup Page
Once connected, you can access the router's setup page by navigating to [tplinkwifi.net](https://tplinkwifi.net) in your web browser. Here, you will find a login screen requiring your username and password. If you have forgotten your password, you can reset it or find the default password on the router's label. Refer to the manufacturer's guide for more information.


