How to Optimize Your Network-Attached Storage with a Wireless G Network Setup
Network-Attached Storage (NAS) is a fantastic solution for storing and sharing files across various devices in your network. However, setting up a wireless G network for your NAS can be a bit tricky if you don't know the right steps. In this comprehensive guide, we'll walk you through the process of setting up a wireless G network for your NAS, ensuring seamless file sharing and data backup.
Understanding Your NAS and Wireless G Network
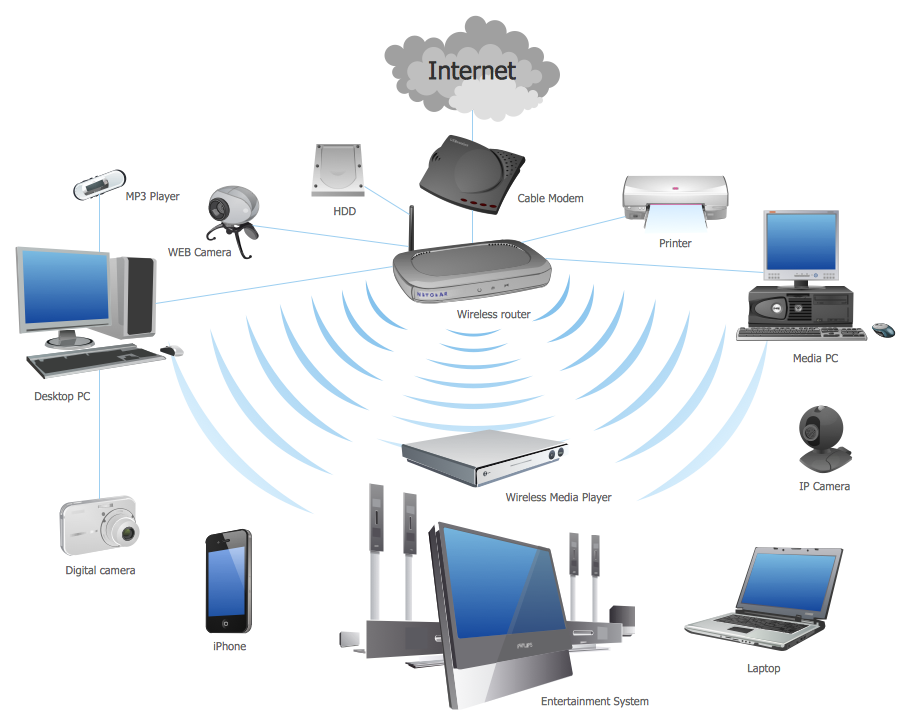
A Network-Attached Storage (NAS) device is a central storage unit that connects to your network, allowing you to store and share files across various devices. A wireless G network, on the other hand, uses the 2.4 GHz frequency band to provide internet access to devices connected to the network. To optimize your NAS with a wireless G network, you'll need to follow these steps:
Step 1: Configure Your Router
The first step in optimizing your NAS with a wireless G network is to configure your router. Check your router's manual to learn how to access the web-based interface. Typically, you can access the interface by typing your router's IP address in a web browser. Log in to the interface using the default administrator username and password.


")


 Drive")


 device - Bitcatcha")

 - Best Buy")


 - Help Desk Geek")


 for Home Use")


